
When to Repot Your Bonsai: A Beginner’s Guide
Before you pick a new pot, check whether your tree actually needs repotting.
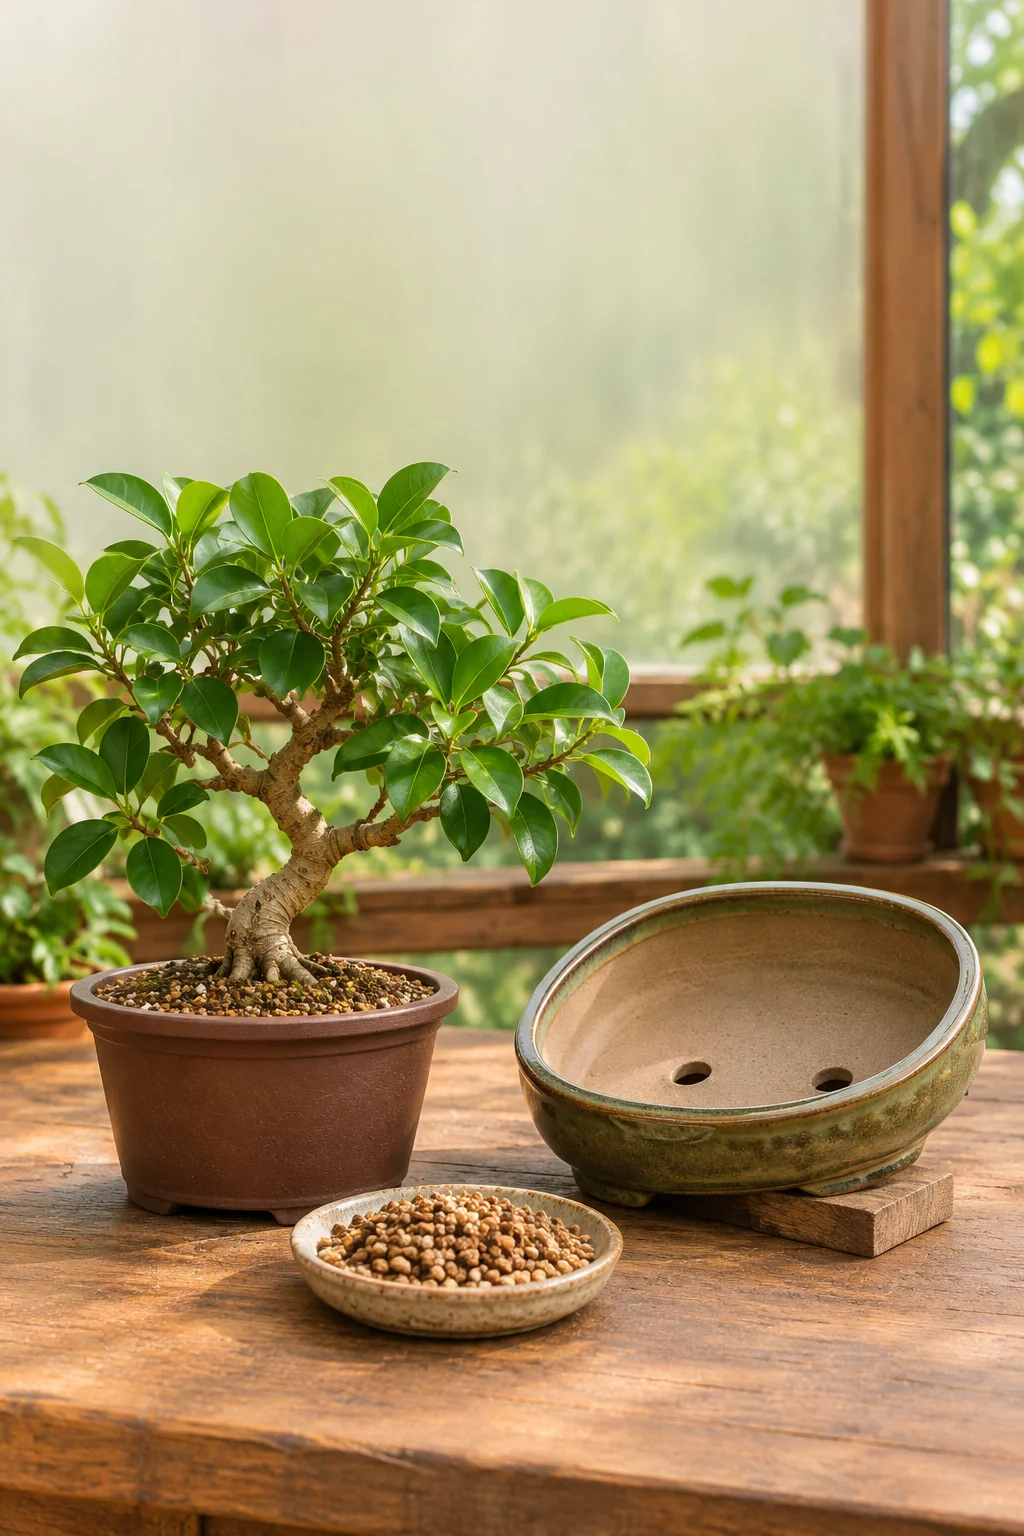
A new pot can make a bonsai look more finished. Your tree, however, has no opinion about ceramic glazes. What matters is whether the roots have room to grow and whether water can still move through the pot.
How to tell if it’s time
If water repeatedly pools on the surface or drains much more slowly than it used to, check for blocked drainage holes or compacted mix. If you can gently slide the root ball out without forcing it, look for a dense mat of roots circling the sides and bottom. A single root poking through a drainage hole doesn’t tell you how crowded the rest of the pot is.
Wait if the tree is growing well, the mix drains freely, and the roots haven’t crowded the pot. If a tree is losing leaves or looks weak, figure out what’s stressing it before doing routine root work. Repotting can add stress when the problem is light, watering, or a recent move.
Let the tree tell you when
For many outdoor deciduous bonsai, the usual window is early spring, when buds are swelling but leaves haven’t opened. For a tropical ficus, plan routine repotting for a warm stretch when it’s growing actively and has good light. If you’re growing a juniper, check the guidance for your species and climate before disturbing its roots.
Choose a pot that fits the roots
Look for a training pot with unobstructed drainage holes and enough depth to hold the root ball without cramming it. If the shallow display pot you love would require removing a lot of healthy roots, save it for later. Use a granular bonsai mix that drains freely while holding enough moisture for your tree and growing conditions.
Cover the drainage holes
As an Amazon Associate I earn from qualifying purchases.
- Fiberglass window screen mesh (Amazon): A scrap of ordinary, nonadhesive screen works for many granular mixes. Cut a patch slightly larger than each drainage hole and lay it flat inside the pot. If your screen is unusually fine or clogs easily, use purpose-made bonsai drainage mesh instead. Cover only the holes.
- 1.5 mm aluminum bonsai wire (Amazon): Bend a short piece into a U, pass the ends through the mesh and drainage hole, and bend them outward against the underside of the pot. The wire holds the screen in place while you add the mix; it does not anchor the tree.
Before adding soil, pour a little water into the empty pot to check that the screened holes drain freely.
Keep the first repot simple
- Set up before lifting the tree. Have the pot screened and the fresh mix ready so the roots spend as little time exposed as possible.
- Lift and inspect. Check for anchoring wire before easing the root ball out. Work gently around the outer roots and preserve as many fine feeder roots as you can. If the new pot would require substantial root pruning, choose a roomier training pot or get species-specific guidance first.
- Settle the tree and water. Keep it stable in the pot, work fresh mix around the roots to fill gaps, then water thoroughly until water runs out of the drainage holes.
During recovery, protect the tree from drying wind and temperature extremes. Check the new mix before watering: it may dry at a different rate than the old one. Give the roots time to recover before a major styling or pruning session.
If you’re still unsure, start with the next watering. Seeing how water moves through the pot can tell you more about what your tree needs than picking out a new pot ever will.
Further reading: Bonsai Empire’s repotting guide, Chicago Botanic Garden’s repotting season notes, and Bonsai Shop’s drainage mesh guide.
Previous: Your First Bonsai Pruning · Back to Bonsai for Beginners