
Take a pencil or your phone outside. Spend about four minutes at each stop, then use the last three to choose one next step. One sentence or a quick photo at each spot is plenty.
1. Under a tree · Find a place for leaves
Look for a quiet spot under a tree or in an existing bed where fallen leaves can stay. Keep steps, sidewalks, and drains clear. If leaves are in the way, move some whole leaves into the spot you picked. Leave the tree trunk clear.
Write down: Where can leaves stay without getting in the way?
2. Along a fence or garden edge · Find room for plants
Pick a small stretch you could turn into a native planting. Notice whether it’s sunny or shaded right now and whether water tends to collect after rain. Check the light again when nearby trees have leaves before choosing plants. Start with a space you can reach and care for easily.
Write down: How wide is the spot, and what would you want to check before planting?
3. Outside a window · Find a place to watch
Choose a view you can check regularly. Spend two quiet minutes watching the ground, branches, or bed edge. Note what you see and where it happens, even if all you record today is a bird passing through or no activity at all.
Write down: What was there, and when could you check the same spot again?
Ready to turn your notes into a project? Start with the backyard rewilding guide for a small native patch or a leaf refuge. This walk is a starting point for the kind of planning we’re developing in Backyard Habitat Builder.
5 easy fall nature crafts
Bring home a few dry, fallen leaves, acorn caps, twigs, or pinecones from your walk. Collect where you have permission and leave most of what you find in place for wildlife.
- Leaf rubbings. Put a leaf vein-side up beneath a sheet of paper. Rub the side of an unwrapped crayon over it until the veins appear.
- Leaf animal collage. Arrange leaves on cardstock to make a fox or owl. Try pointed leaves for ears or wings, then glue the pieces down and draw in the eyes.
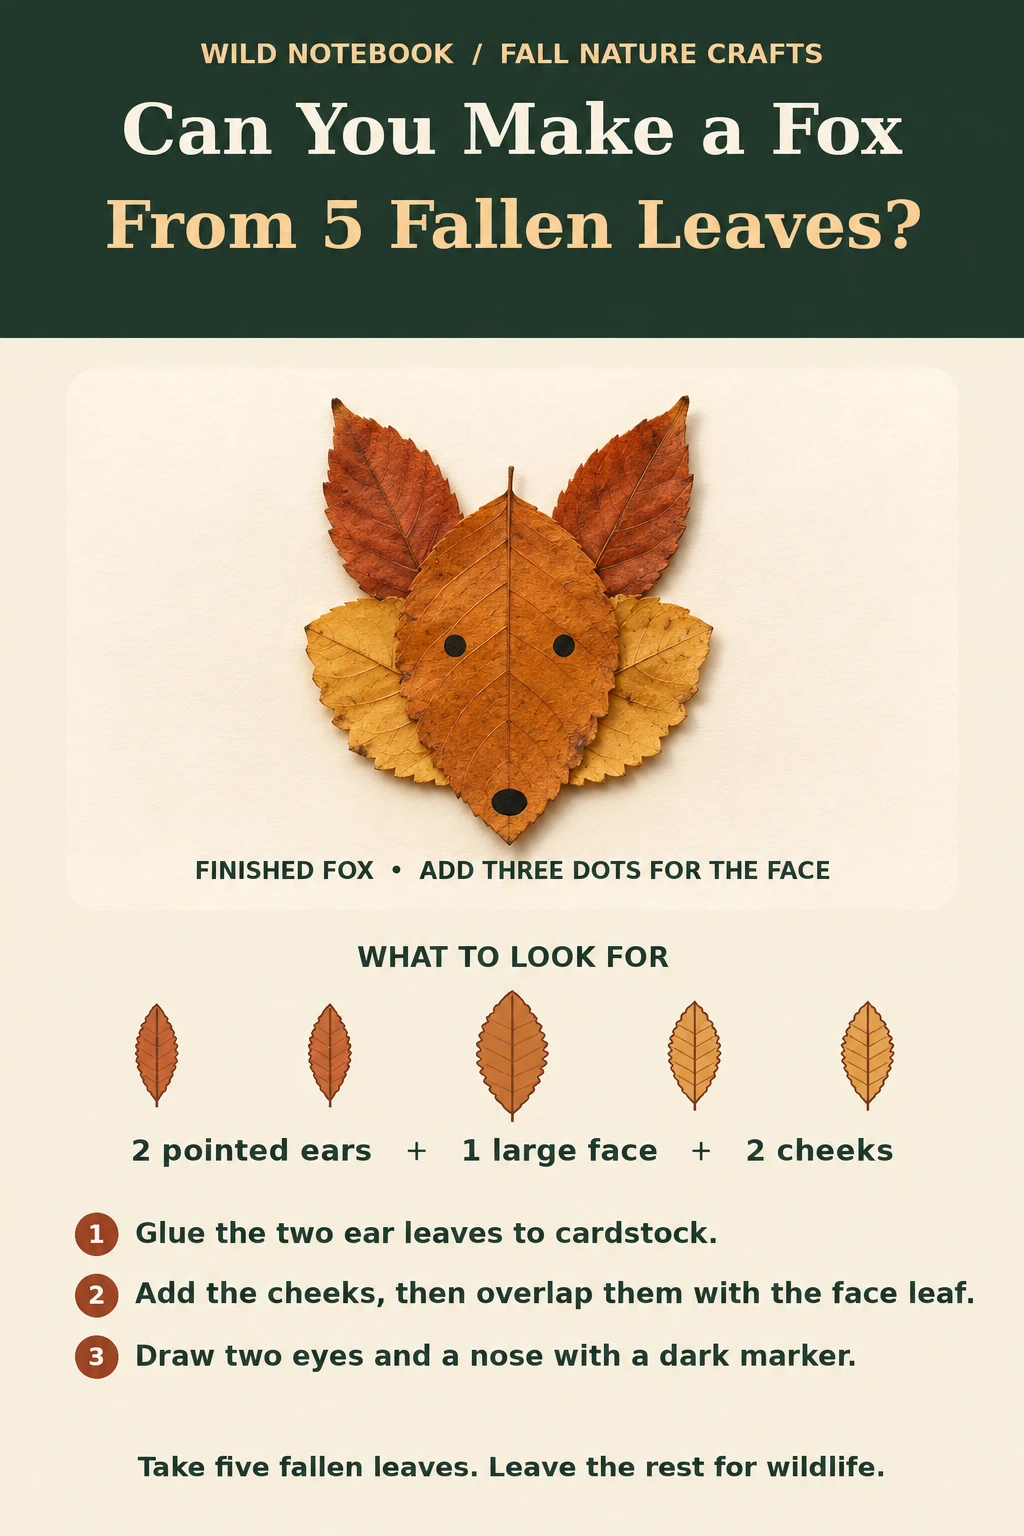
AI-generated craft illustration. Save the five-leaf fox on Pinterest. - Acorn-cap mosaic. Sketch a shape on cardboard, then arrange dry acorn caps along the outline. Glue them in place once you like the pattern.
- Twig picture frame. Cut a window in a piece of cardboard and glue short twigs around its edge. When it dries, tape a drawing or photo behind the opening.
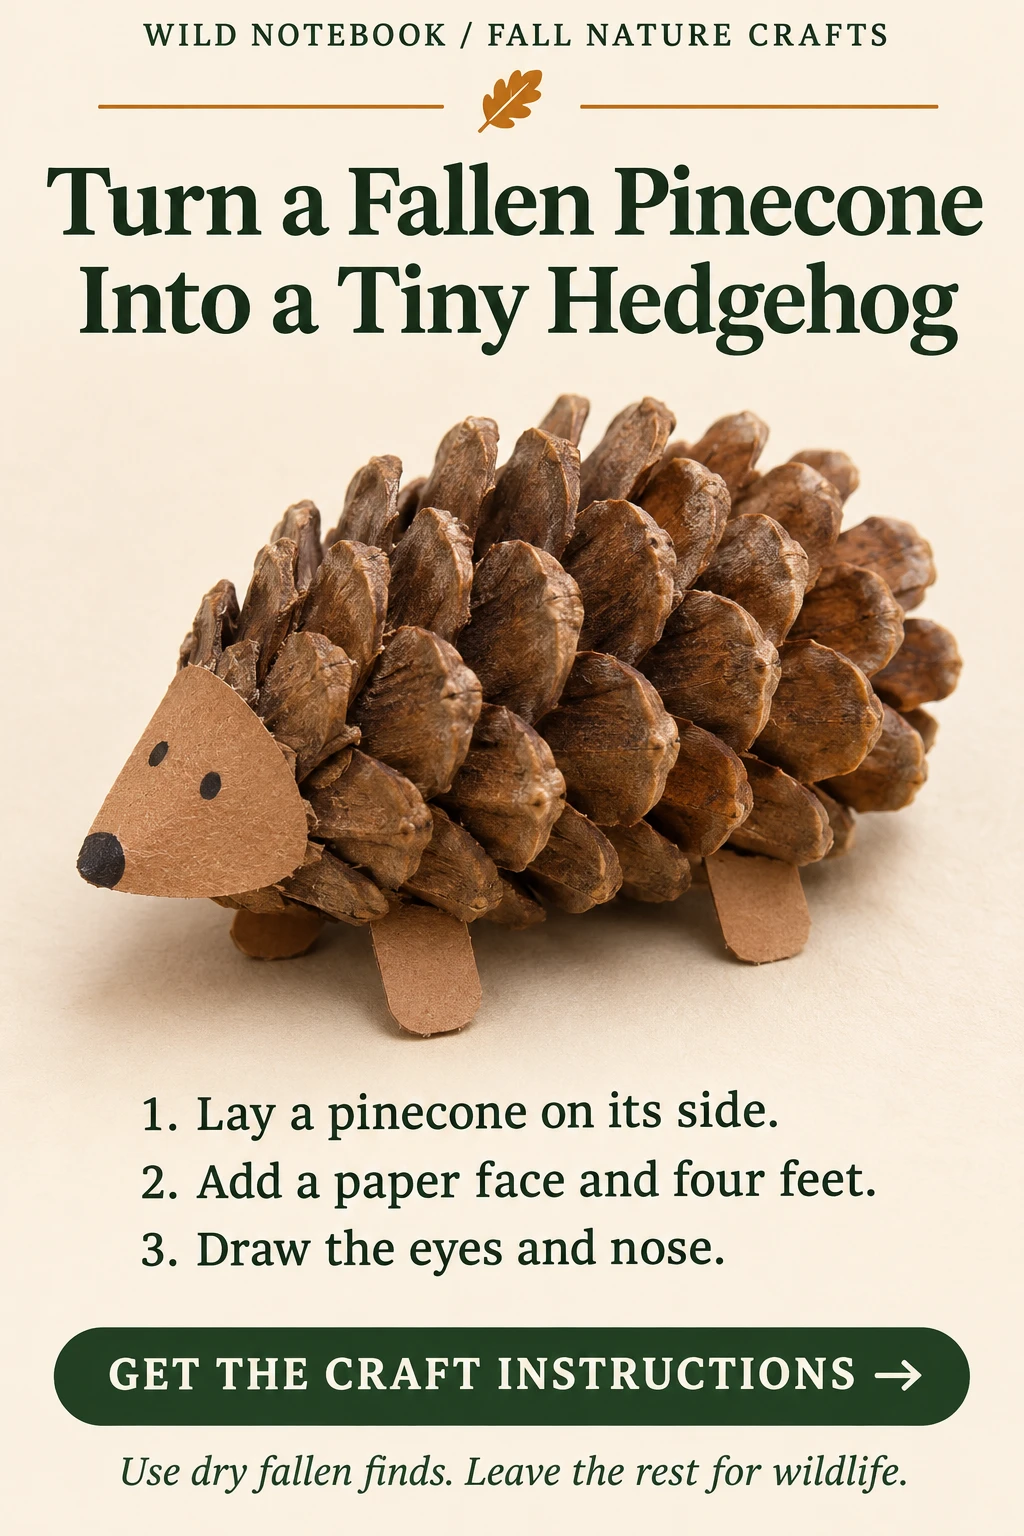
- Pinecone woodland owl. Lay a pinecone on its side so it stays put. Glue on paper eyes and a small paper beak, then tuck a leaf on either side for wings.
Save small pieces such as acorn caps for older kids with adult supervision. Have an adult cut the cardboard for the frame.
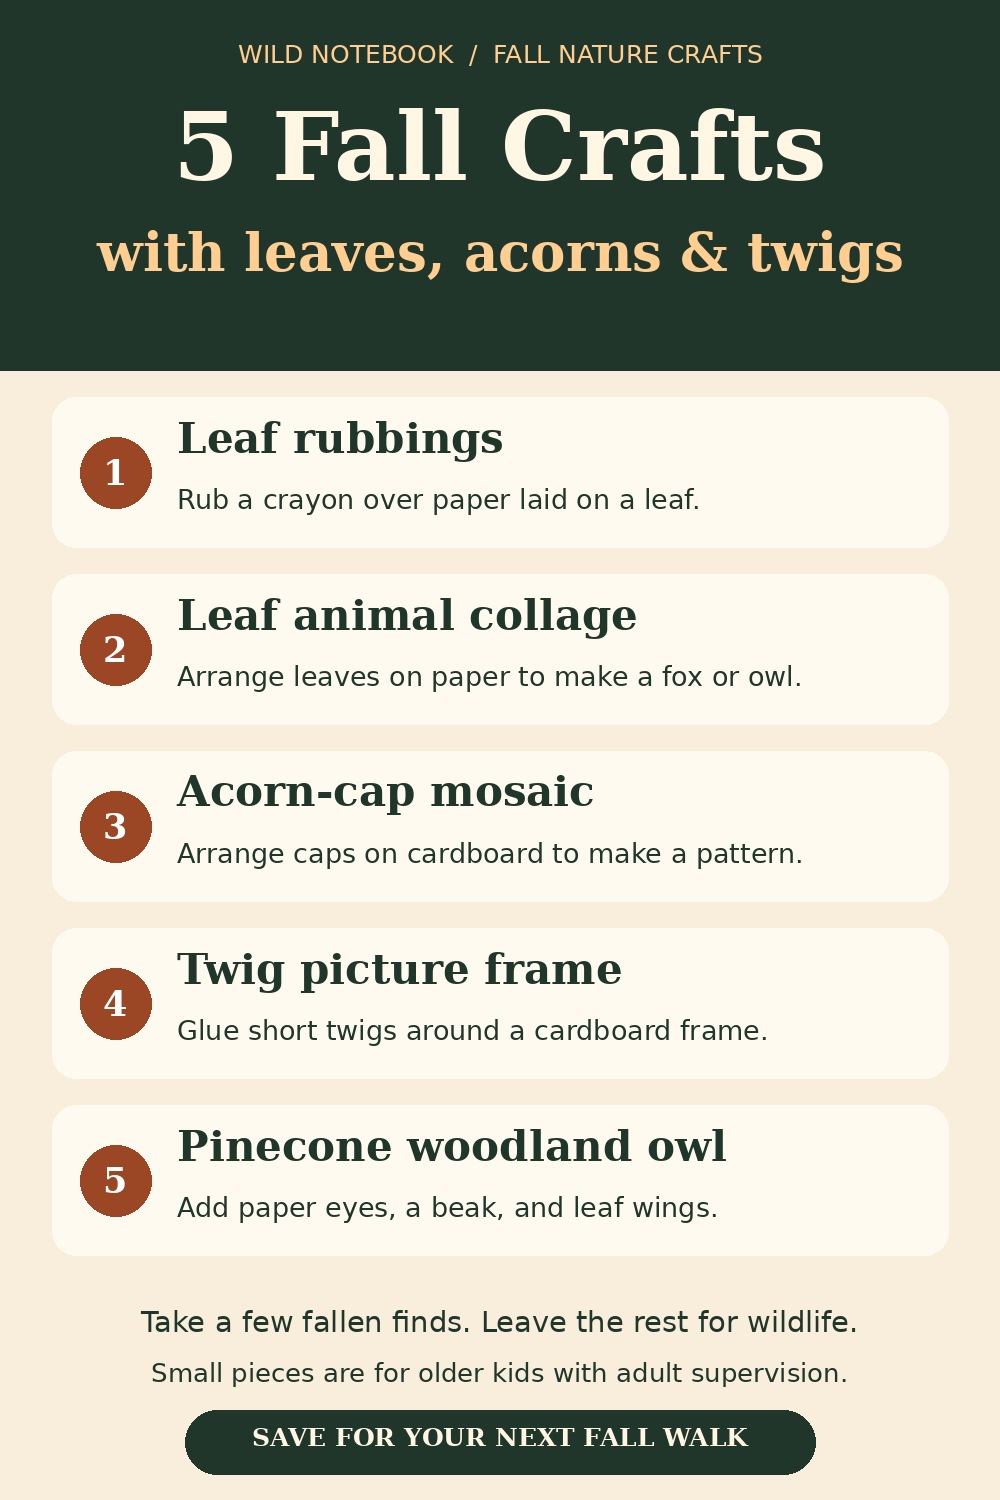
Bonus craft: Build a tiny twig raft
Can six fallen twigs carry an acorn cap? Build a little raft, see how it floats, and try one change to make it steadier.
You’ll need: Six short, dry twigs of similar thickness, two thinner twigs long enough to cross the deck, cotton string, an acorn cap, and a shallow basin of water.
- Build the deck. Lay the six twigs side by side. Set a crossbar near each end. Weave cotton string around the deck twigs and crossbars, then tie it snugly. An adult can help with the knots.
- Test the raft. Set it gently on the water. Put an acorn cap in the middle, then move it toward one edge. Does the raft stay level or tilt?
- Try one change. If it tilts, try spreading the deck twigs a little wider or replacing an uneven twig. Test again with the same acorn cap and compare what happens.
Use a shallow basin with adult supervision. When you’re done, take the raft apart, return the twigs outdoors, and save the string for another build.
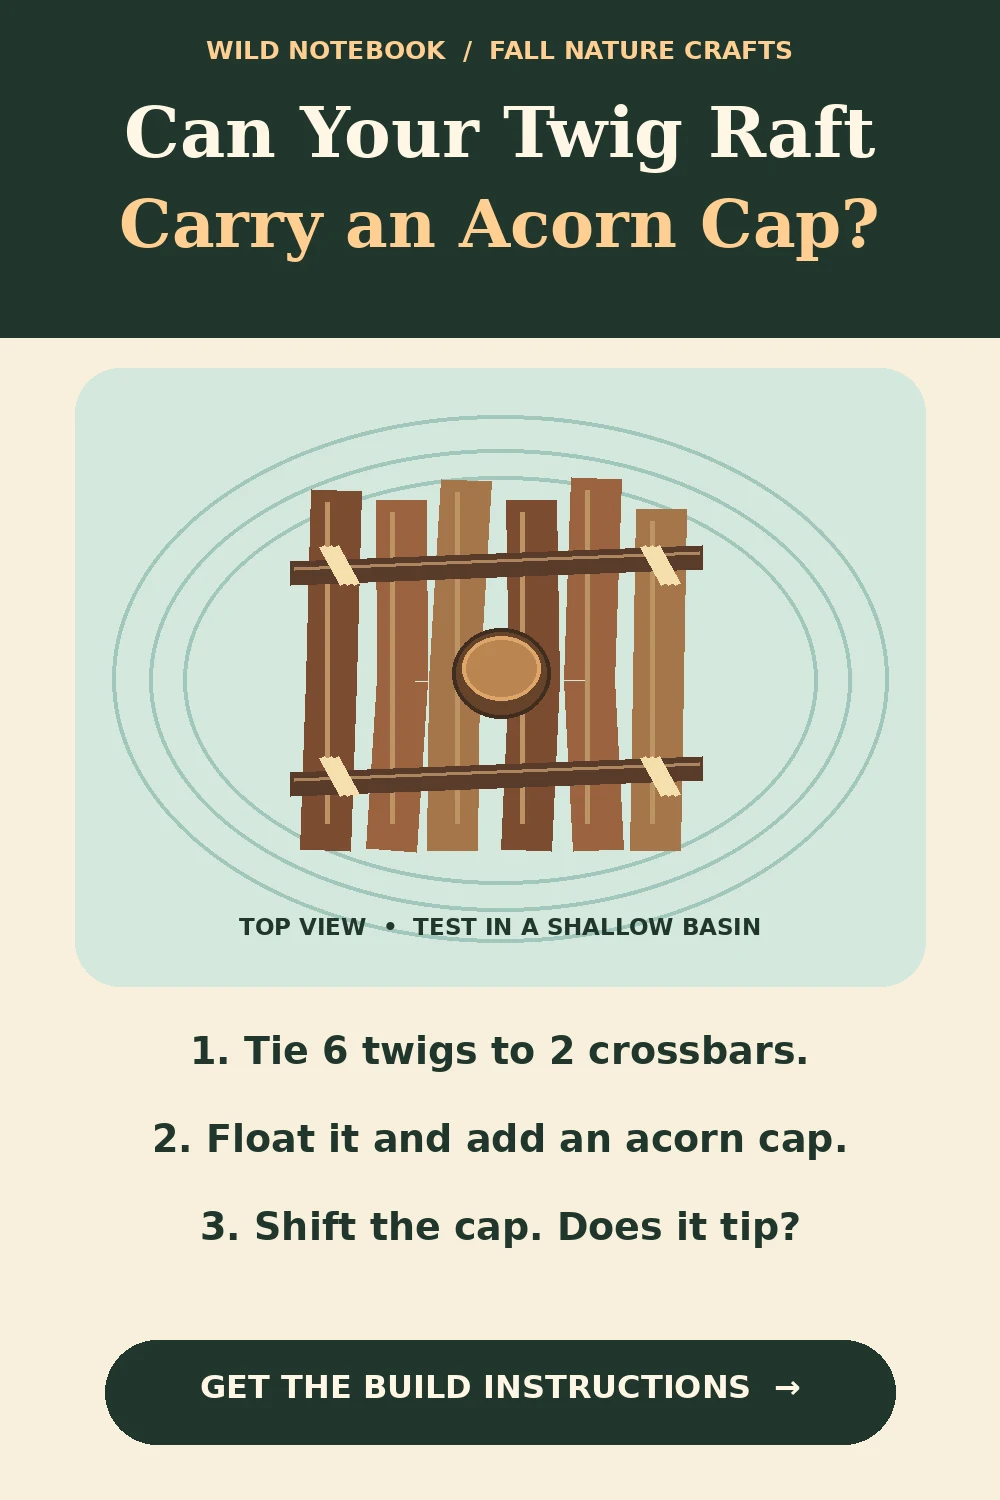
Make a pinecone hedgehog
A fallen pinecone becomes a tiny woodland character with a paper face and four little feet. Let kids name their hedgehog and arrange a scene with a few fallen leaves.
You’ll need: One dry fallen pinecone, brown paper or cardstock, a dark marker, craft glue, and scissors.
- Set the body down. Lay the pinecone on its side. Turn it until it rests steadily, with its narrow end facing forward.
- Make the face. Cut a small triangle with rounded corners from brown cardstock. Draw two eyes and a black nose at the pointed tip.
- Attach the face. Glue the wide end of the paper triangle to the narrow end of the pinecone. Let the pointed nose stick out in front.
- Add the feet. Cut four small paper ovals and glue them underneath, leaving the rounded ends peeking out. Let the glue dry before moving the hedgehog.
Choose a dry pinecone with no visible occupants. Collect where you have permission, leave most fallen finds in place, and have an adult help with scissors. Keep small pieces away from children who put objects in their mouths.
Ready for a bigger nature craft? Start your own tiny fairy village.
Further reading: Xerces Society’s Leave the Leaves guide.