A native planting patch
Choose this if: you have a small lawn area you can convert and time to establish new plants.
Starter scope: about 6 × 6 feet, or smaller. Match plant choices to the site.
Plan the planting
What is rewilding—and how can you contribute? Start with one useful patch, learn what your site needs, and watch what changes.
By Jeremy L. Koering · Wild Notebook · A beginner’s guide for Mid-Atlantic yards
Choose your first project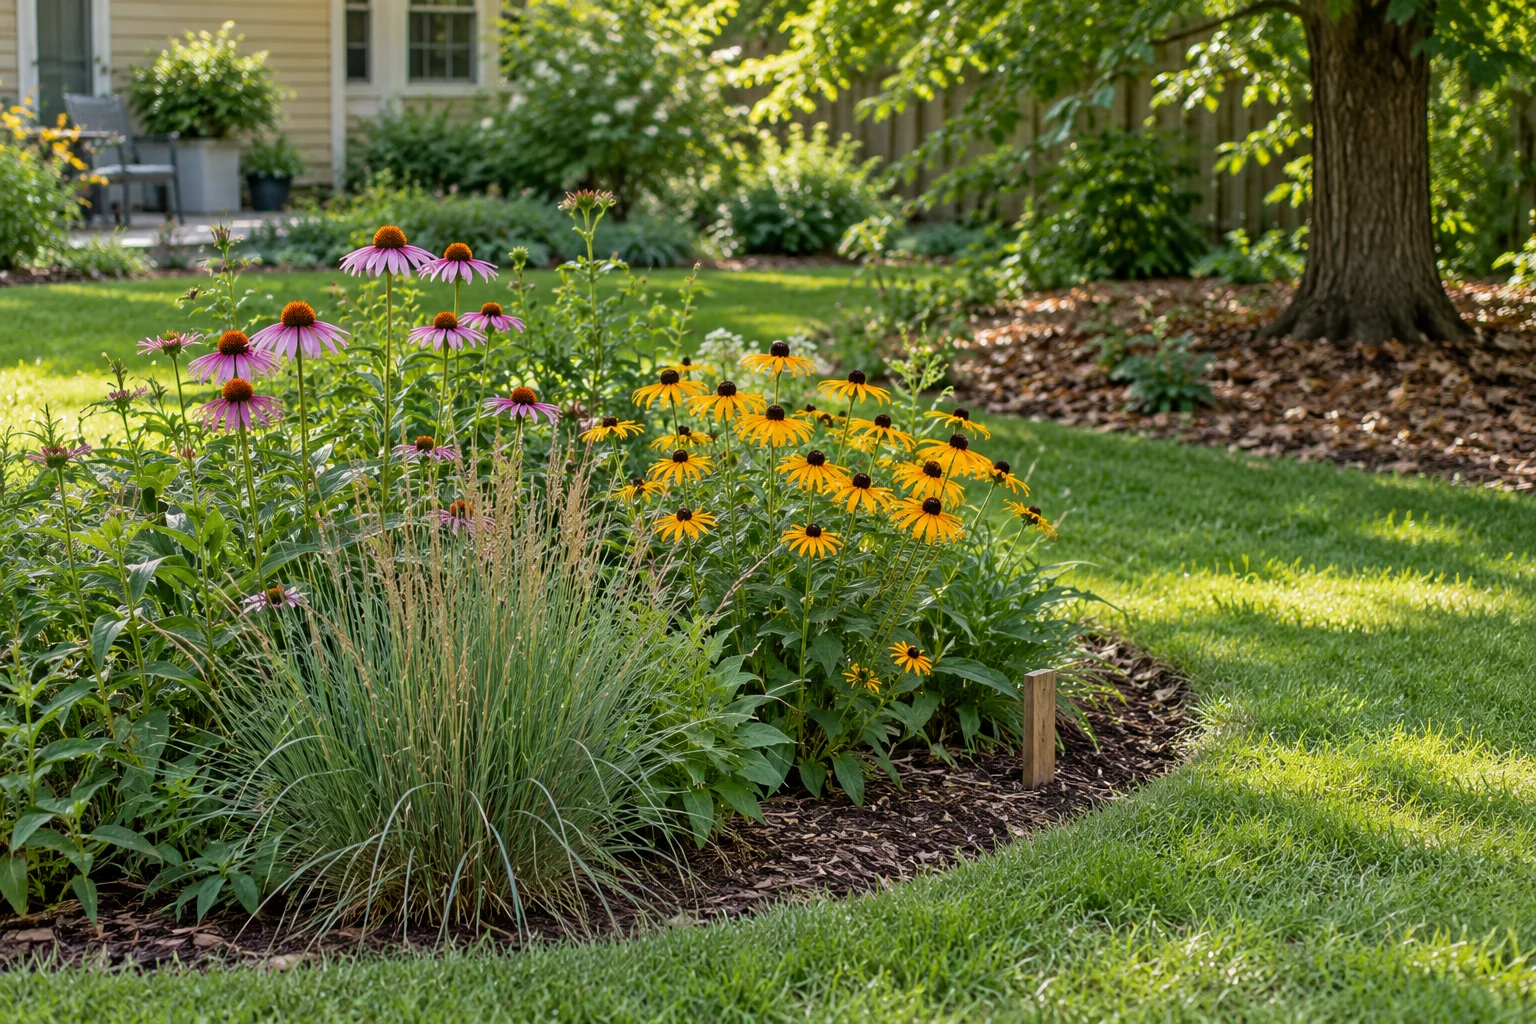
Rewilding aims to help ecosystems recover so that wildlife and natural processes can sustain more of their own activity. At landscape scale, that can involve restoring connections, water flows, vegetation, and ecological relationships. It can require substantial planning and active restoration before a place needs less intervention.
In an ordinary yard, backyard habitat restoration is usually the more precise description. You are creating useful space for wild organisms within a managed landscape—not recreating a whole ecosystem behind the fence. That smaller contribution still matters.
The restoration storytelling that makes projects like Mossy Earth and Planet Wild interesting can work at home too: document the starting conditions, explain what you change, and observe the results. This guide is independent and is not affiliated with either organization.
Less lawn is a possibility. Less thought is not the goal. Simply stopping maintenance can allow invasive plants to spread. A successful patch needs a suitable location, appropriate plants, and follow-up care.
Assess your yard, choose one project, and plan its care with our printable checklist. Free download; no email signup required.
Download the habitat checklist (PDF)Want a project-by-project guide? Explore the Wild Notebook Backyard Habitat Handbook in hardcover. View the hardcover on Amazon (paid link) →
As an Amazon Associate I earn from qualifying purchases.
Ready to gather supplies? Our backyard habitat shopping list explains what to look for, what you can reuse, and which purchases depend on your plan.
Walk the yard before buying anything. Where does sun reach the ground? Does water linger after rain, or does the soil dry quickly? What already grows there? Which areas do children, pets, or other household members need to use?
Keep healthy existing habitat where you can. Identify unfamiliar plants before removing them. Check property boundaries, buried utilities before digging, and applicable local or association requirements. Keep access, sightlines, drainage, and necessary clearances in mind.
Choose this if: you have a small lawn area you can convert and time to establish new plants.
Starter scope: about 6 × 6 feet, or smaller. Match plant choices to the site.
Plan the plantingChoose this if: you already have fallen leaves and a suitable tree or shrub bed.
Starter scope: one designated bed with a light, loose layer of whole leaves.
Keep a leaf refugeBefore spending: write a shopping list covering the plants at planned spacing, any necessary bed-preparation materials, and access to water. Check local prices and start smaller if the total or maintenance commitment is too high.
Mid-Atlantic plant selection: verify native range and site suitability with your state’s native plant society or extension service. Ask for options for your specific light, moisture, and soil conditions. A nursery label saying “native” without a location is not enough.
Whole fallen leaves provide cover and overwintering habitat for many invertebrates. You can retain them in an appropriate garden or shrub bed while keeping paths, drains, and lawn areas used for play clear.
Good limits: a leaf refuge is not a dumping ground for diseased garden material, invasive seed heads, litter, or every leaf from the neighborhood. Keep it small enough to monitor and compatible with the existing plants.
After planting: check soil moisture regularly and water according to plant needs, weather, and local restrictions. Do not assume “native” means a newly planted root system can handle drought immediately.
Through the growing season: identify and remove unwanted plants before they dominate, while allowing your chosen plants room to grow. Avoid routine pesticide use in the habitat patch. Resolve a specific problem by identifying it first.
As the seasons change: retain suitable stems, seed heads, and leaves where practical. Keep necessary paths and boundaries clear. Replace failures only after asking whether light, moisture, browsing, or plant choice caused the problem.
Record dates, time spent watching, flowering plants, and what animals actually do. Photograph the same view as the seasons change. “No visitors seen today” belongs in the notebook too.
Notes are not saved. Print or save a PDF before leaving to keep them.
Join a locally organized habitat-restoration or invasive-plant removal event, help care for a community planting, or support a conservation project that explains its methods and reports results. Follow the organizer’s ecological guidance; do not release animals or scatter seed in public places.
Jeremy’s upcoming Wild Notebook habitat book will develop this approach into a practical plan for an ordinary suburban yard through the first three years, including project choices, installation, and maintenance. It is in development; this guide gives you a complete first project to try now.
IUCN: The benefits and risks of rewilding — natural processes, landscape restoration, and responsible planning.
Xerces Society: Leave the Leaves — whole leaves, seasonal shelter, and habitat in managed yards.
Before you rake, try the 15-minute fall habitat walk.
Who’s visiting your backyard at night? · Read white-tailed deer signs · More field guides